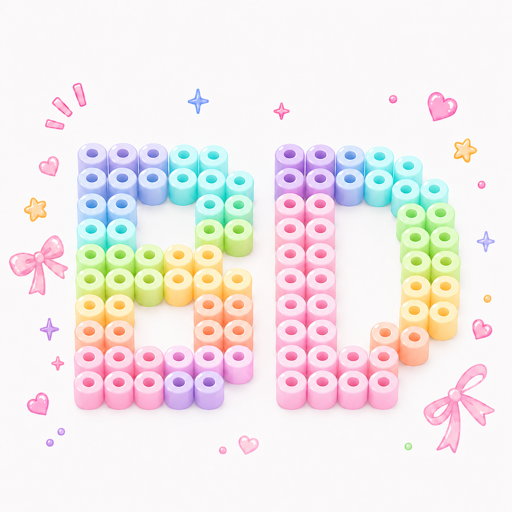
A carefully arranged bead design can fall apart, stick to paper or curl during the final ironing stage. Check material compatibility, heating coverage and cooling before choosing a method. Decide whether you want visible holes or a flatter surface after checking the bead, board, protective material and appliance instructions.
Temperatures and timings shared online often apply only to one combination of materials and equipment. This guide explains basic fusing and the differences between closed-hole, baking-cloth, towel and special-texture methods without prescribing unsupported universal settings.
Prepare the workspace and materials
- Inspect the finished arrangement against the chart for wrong colors, missing beads and intentional gaps. Individual corrections become difficult after fusing.
- Use compatible ironing paper or a protective material approved by the manufacturer. Do not substitute printer paper, plastic film, wet wipes or unidentified materials.
- Prepare the recommended iron or heating appliance and a flat, stable, heat-resistant surface.
- Allow space for cooling and suitable flat support; keep heat-sensitive objects away from a hot project.
- Ventilate the area and organize cables and nearby objects. An adult must perform the ironing, keeping children and pets away from hot equipment.
Pegboards also have heat limits. Follow the relevant board and bead instructions for ironing on the board and for removal.
Open holes versus a closed-hole surface
An open-hole finish retains visible centers and bead texture. A closed-hole finish fuses one surface further for a more continuous appearance. This is an aesthetic choice, not a guarantee of greater strength. Continued heating can flatten edges, change dimensions or cause sticking.
Perler's standard method leaves the centers open and treats both sides. That guidance does not automatically describe other brands or a one-sided closed-hole method. Preserve any holes needed for later threading or assembly.
A basic beginner workflow
Step 1: Test the same materials first
Use the same beads, paper and appliance as the final project. Start with the product's recommended settings and observe the joins. Do not transfer temperatures or timings between brands, bead sizes, appliances or protective layers.
Step 2: Cover and heat evenly
Lay the paper flat and move the heat source as directed by the bead and appliance instructions. Cover edges and center without lingering in one place or flattening the beads with excessive pressure. Never place an iron directly on beads or pegs.
Step 3: Check joins and add only what is needed
Look for adjacent beads joining. Aim first for an intact outline and secure connections. Follow the instructions when treating areas that have not joined, rather than automatically adding complete heating cycles.
Step 4: Cool, remove from the board and peel as directed
A warm piece may still be flexible. Lifting it immediately or pulling paper sharply can distort it. If paper sticks, stop pulling and let the materials cool before checking compatibility and heat settings. Damage-free recovery is not guaranteed.
Step 5: Treat the reverse if required, then cool flat
Follow the product instructions if both sides need fusing. Use suitable flat support while cooling, avoiding pressure concentrated at one point or impressions from weights on a soft surface. Check the strength only after the piece has cooled completely.
Checks before attempting a one-sided closed-hole finish
- Establish the basic fusing method on a sample of the same materials.
- Confirm that further surface fusing is suitable for the product and will not close holes needed for assembly.
- Watch for collapsed edges, a widening outline or sticking paper, and stop if these appear.
- Stop when the desired result is reached rather than trying to eliminate every visible hole.
Figures such as 150°C for 15 seconds from individual tutorials are not cross-brand standards and are not operating settings recommended by this guide.
Baking-cloth methods: identify the protective layer
Baking cloth can describe different substrates and coatings. Without a stated heat limit, contact method and compatibility with the beads, use the recommended ironing paper instead.
If using tape to transfer a design, check the adhesive's suitability as well. Keep unidentified adhesive layers away from the heat source. Transfer, peeling and board-removal order depend on the actual materials, not the name of the method.
Towel methods are additional texture experiments
A towel can alter pressure, heat transfer and surface texture. It is not required for basic fusing. Fiber content, thickness and decorations all affect the result.
Use a standard method unless your materials and appliance explicitly support the alternative. Do not place unidentified synthetic fabrics or wet towels against hot equipment. The same number of seconds through fabric does not imply the same degree of fusion.
Special and glitter-texture methods
These hobby terms do not describe a standardized process across brands. Pressure, coatings, fabric and wet wipes change the heating conditions. Wet materials can introduce steam-burn and appliance hazards and must not be used in an electrical heating process unless the instructions allow them.
Learn the standard method first, then consider effects supported by the materials and appliance. A short instruction such as repeatedly pressing at 160°C is insufficient to define a reliable process.
Larger patterns need even coverage
- Make sure the full work area is stable and no beads or board sections are raised.
- Cover regions with a consistent path, paying attention to joins between regions, edges, corners and thin connections.
- Inspect each region; a large design does not simply require double the temperature or number of cycles.
- Prepare flat cooling support large enough for the piece instead of weighting only its center.
- For designs spanning multiple boards, plan compatible boards and the manufacturer's permitted transfer, fusing and joining method in advance.
Common failures and what to check
The design falls apart when lifted
Incomplete joins, uneven coverage or different materials can contribute. Stop pulling and assess whether the arrangement can safely be restored. A badly displaced project may not be repairable.
There are still holes
Visible holes do not mean failure. Check the connections and overall outline.
The edges have melted into a sheet
Excessive fusion usually cannot be reversed to restore the original pixel outline. Test first next time and avoid excessive heat and pressure.
Paper sticks or edges curl
Stop and let the work cool. Check the protective layer, evenness of heating and cooling support. Avoid repeated heating or forcibly straightening severe deformation.
Can an iron and an automatic press use the same timing?
Contact area, motion, temperature control and pressure differ. Identical displayed numbers do not prove that beads receive the same heat.
How to interpret temperature and timing tables
Use instructions for your particular brand, bead series, paper and appliance. Even an official example for one product is not a universal safe-temperature threshold. Online tables listing 145°C, 150°C, 155°C or 160°C and fixed durations cannot replace a test piece and observation.
A practical checklist
- Before heating: check the chart, materials, instructions, work surface and cooling space, then make a sample.
- During heating: watch the joins, work evenly and avoid excessive pressure or touching hot surfaces.
- Afterwards: peel, remove from the board, treat the reverse and cool as directed. Check strength once fully set.
Check the chart with Doumen before ironing
Doumen provides chart import, color highlighting, grid aids and consecutive-bead count hints for checking missing beads and wrong colors. Physical fusing requires appropriate materials and equipment; the app does not heat beads or control their actual temperature.